Friday, September 30, 2022

1200S: service time, part 7

With the gear cluster safely on the bench, we can now proceed with inspection and disassembly.

In every photo I've seen, whether it's someone else documenting their transmission maintenance, or even the Clymer manual, the cotter pins are installed like this:
But I actually found them like this:
which looks much more intentional, much more secure and I'm almost certain this is how it was done at the factory in 2001, so the new ones will be going back in exactly like this.
With the help of the transmission power flow diagram from the factory manual, I checked operation of all gears going up and down the sequence, and only really found engagement of second gear to be less than optimal. Everything else meshes and couples fully.
The fork pins come out using a little bit of compressed air over each opening, the pressure differential effectively pulls the pins out, no dark magic required.
The detent arm pivots on a bolt that, cleverly, also does double duty as the mounting point for the two lockplates that secure the shift drum to the trap door. Notice also the three fork pins and respective cotter pins at the top-right of the image. The cotter pins must always be replaced.
Once removed, the shift drum can slide out and be set aside, then each fork can be lifted out.
It's over to the mainshaft and countershaft, removal of all the components is pretty straightforward and consists of removing a series of retaining snap rings; easy and fast, provided you have the right tool:
I only reached the damaged gears on the countershaft (1st and 3rd), there is no need to remove anything else.
Here's the deal, I was expecting, and to some degree hoping, to find something clearly and badly damaged in here. And while there are plenty of indications of wear on various parts (circled in red in the photos above), none of it seems to be enough to cause such a big problem. So yes, the ramps on the countershaft's first gear are a little bit beat up, definitely, as are the corresponding dogs on third gear, and I found a few very little burrs on practically all the dogs throughout the gearbox. The forks show very minor signs of wear but truly nothing concerning. Although it doesn't really make sense to me, I must accept that it would all add up to cause first gear to "pop out".
At least part of the issue in all of this seems to come from the fact that H-D does not make shims in different thicknesses for the gears, relying instead on a one-size-fits-all spacer that obviously can't always be right. Checking the transmission on the bench, I can see how the forks might be unable to push gears all the way, making full engagement difficult. Obviously this just invites incorrect wear issues, and a less than sympathetic rider will quickly cause damage as was the case here.
Another thing to check are the tracks in the shift drum itself, as these guide the forks and can severely impact proper function of the whole transmission if damaged. I checked all three pins in their respective tracks to see if they could run smoothly and they do precisely that. 
TO BE CONTINUED...

Tuesday, September 27, 2022

1200S: service time, part 6

Off comes the shift-shaft with the pawl still mounted to it (no need to disassemble here). The inboard end of the shaft rides in a floating brass bush (second photo below, top-left) that seems to me like a very generous clearance fit into the crankcase: no signs of wear. The two 9/16″ nyloc nuts really ought to be replaced during an overhaul like this. Re-using these because they look fine would be a false economy here.

Old ones on the left, new replacements on the right:

There is a thin washer in here (shown by the arrow) and it's important not to lose it:
The five ½″ retaining bolts come out without trouble, the whole gearbox now comes out as a unit. Beautiful.
Pay attention so you don't lose the two locating dowels for the trapdoor:
Above, you can also see mainshaft 5th gear, which is captive with the front belt pulley on the other side.  
I noticed this pin at the end of the shift drum (see next photo) and at first didn't recognize it, then a quick look inside the casing, which is immaculate by the way, and the penny dropped: this pushes against the ball bearing situated right above the shift drum needle bearing, and when the transmission is in neutral, activates the switch for the neutral light in the instruments.
Above: the pristine inside of the gearbox case, with the ball bearing for the neutral switch shown by the green arrow. Notice also the needle bearings for the shift drum, the countershaft and the mainshaft (inside fifth gear), and a breather tube at the top-right of the image.
TO BE CONTINUED...

Saturday, September 24, 2022

1200S: service time, part 5

In the next photo you can see the stator, the shifter mechanism, the outside of the actual transmission (or gearbox) and the starter pinion at the top/rear of the case; note also the slipper tensioner in the outer primary cover, and the drain hole, visible just under the trapdoor:

You can see (clean) transmission oil has pooled in the bolt heads' lip, this is typical. 
That scumbag of a dealer had lied to me and told me they had "replaced fourth gear" at some point, but I'm actually glad they didn't and that this is an undisturbed environment, and that I'm the first guy to get in here since this motorcycle left the factory.
The shifter mechanism is comprised of the shift-shaft with the actuating arm, the pawl mounted to it, which engages the pins on the end of the shift drum; it is returned to its starting position by a sturdy spring that acts on a retaining plate at the back and a retaining tab that's part of the main shift-shaft. Simple at first glance, not so easy to engineer. The retaining plate I just mentioned has slotted mounting holes, and that's what allows for a critically important adjustment as we'll see further into this long, long story. The "positive stop" feature is provided by a small star-shaped plate with detents machined around its edge, and a roller that locates in each detent, mounted on another arm, which pivots just below the shift drum. All of these components rely on springs, naturally, to return to their starting positions, and each of these springs should be inspected and replaced. In this case all springs are in perfect working order and will be going back.
The next thing to go is the spring at the bottom of the positive stop mechanism. Warning: that spring is attached on a steel post that is pressed into the crankcase casting; if you pry against it with anything but your fingers, you run a real risk of breaking it, and then you'd be in real big trouble if that snapped. Instead, all you have to do is pull it off with your fingers, very easy. 
After that comes the dreaded 'C' clip that holds the detent plate on the end of the shifter drum: in some cases this has been known to be very hard to remove, if so, easy does it, don't get frustrated and just work away at it with a good pair of pliers and a good flat blade screwdriver until you get it off. You'll be replacing this, so don't worry about damaging the clip.
In my case, all I had to do was push it flat against the detent plate, while simultaneously sliding it off its groove with a small screwdriver. This was very easy. This clip has a very pronounced curvature and the way it works is by maintaining (spring) tension between the detent plate and the locating groove.
Harley-Davidson released an upgraded part for this, so if you're replacing yours, be sure to get the right one and not some older NOS part.
The detent plate can be lifted out. Note that this is the upgraded part released in 1999, which can be retrofitted to all 5-speed Sportsters back to 1991:
TO BE CONTINUED... 

Wednesday, September 21, 2022

1200S: service time, part 4

A snap ring retains the clutch adjustment shaft, which comes out with its own housing and bearing. This has a little bit of play but I think it's normal; there are no signs of incorrect wear.

Time to get serious, we have to remove the primary drive as a whole, this requires removing the clutch retaining nut at the end of the mainshaft, as well as the crankshaft nut. The clutch will be the subject of a separate post, but for the time being it is simple enough to remove as a complete unit. The crankshaft nut is on there at a ridiculous torque setting of 200ft.-lb. There is no point faffing around with extra-long breaker bars, mallets or anything like that. The only way you're going to remove these nuts without damaging anything (or yourself) is with a high-powered, high-torque impact wrench, and heat applied to soften the Loctite. We do have a small, quarter-inch conventional air-powered one but it's nowhere near powerful enough to get the job done, so I switched to a half-inch electric impact wrench. These seem to be quickly becoming the new standard for hobbyists at least, and the battery-powered ones appear to be of higher specs, generally, than corded versions. 
Heat is absolutely essential to get the job done, you cannot succeed without it. As it happens, the clutch hub nut had an enormous amount of Loctite on it as you can see from those two curlies in the next photo, and it took a while to soften and eventually break loose with the impact wrench. Do not forget this is a LEFT-HAND THREAD here:
A cupped lockwasher sits behind it, pay attention to the orientation when refitting:
The crankshaft nut came off without problems:
I used a conventional ratchet to finish taking off the clutch and crankshaft nuts as soon as I saw them break loose. The primary locking "shoe" from Lowbrow Customs worked a treat, it got a little chewed up, just like it was supposed to, and it's a valuable tool to have for this type of job. The flashy green isn't just for show (although it is an awesome color), it's bright so you don't accidentally forget it in your primary drive...
At this point you can lift the triplex chain with its front sprocket (and the alternator rotor), and the clutch basket as a unit. The magnets in the rotor will fight you a little bit as they come out, but it's really not that bad:
TO BE CONTINUED... 

Sunday, September 18, 2022

1200S: service time, part 3

TRANSMISSION

Oh boy, this was the big one, the reason I stopped riding the Sportster and took it into the workshop in the first place. It's finally time to get into the transmission and sort it out.
While the fluid drains, I remove the left-hand footrest and the gear lever. The latter is mounted on a spline of the shifter mechanism (or "shift-shaft" if you prefer that tongue twister), and care must be taken whenever dealing with splines: they're a great engineering solution, but they're also rather delicate if mishandled. Don't whack them, don't twist, don't pull... easy does it.
The footrest is very interesting in that it is bolted directly into the crankcase (through the primary cover): it was done this way as there simply is no room between the engine and the frame rail to weld a bracket onto the frame in a way that would make it sturdy enough, and while to some people it may seem crude, I think this is a pretty cool detail (albeit a potential source of vibration at high speed).
Then, collapse the clutch cable adjuster so the cable is completely slack, remove the clutch "derby" cover which is held on with confounded Torx screws (being careful not to drop the lockplate and spring assembly that keeps clutch adjustment, more on that later), then it's over to the primary chain tensioner underneath the cover to slacken that too:
At this point you can remove the clutch actuating mechanism: you do this by carefully lifting out this nut/spring assembly:
then backing out the actual adjuster shaft so you can free its retaining nut and lift the actuator out.
Everything was in "as new" condition, although looking closely at one side of the actuator, I had to wonder if it had been damaged somehow, as you can see evidence of a missing tab of some sort, and a rough edge. From a quick internet search and a look at the parts diagram, it would appear this is normal however, and possibly due to the manufacturing process for this part.
Being used to fairly crude "pushrod" systems on a variety of other bikes (BMW, Norton, Matchless, Triumph, BSA, and the Morini too, I think) this seems over-engineered, and there is certainly reason to open this up, clean, inspect and reassemble the unit to ensure proper operation. The service manual does say that the internals should be packed with a small amount of grease. Everything looked good so I applied a small amount of grease and left it at that.
There is no reason to remove the clutch cable fully, the primary cover can be set aside while you work on the transmission.
I used the old gasket to keep track of where each allen bolt goes, as there are different lengths and I don't know these off by heart.
The service manual does obviously help with this, in the form of a handy diagram:
There are also two locating dowels, fore and aft of the primary chaincase: don't lose them.
The biggest surprise came when I looked inside the primary case to discover a pristine environment that truly looks like it just left the manufacturing facility: this thing is literally spotless.
This is turning out to be a very long post, so:
TO BE CONTINUED...

Monday, September 12, 2022

1200S: service time, part 2.

I consider my Sportster to be an excellent example of the '86-'03 Evolution series. Having ridden a few motorcycles over the past 35+ years, I have reached the point where everything confirms that the Norton Commando is my favorite machine of all time... but it is undeniable that the Sportster is right up there with the Commando. That is surprising if you consider my rather purist "British only" background.

Growing up, I had somewhat of a disdainful, snobbish attitude towards Harley-Davidson; I looked down on the whole BIG TWIN culture, all the flashy chrome, eagles, skulls, flames, leather fringe, leather tassels, leather do-rags emblazoned with pewter studs and eagles and skulls and flames...

What I didn't realize is that all of that nonsense is just what many people who want to appear as rebels but who need the reassurance of conformity do with these bikes because they think it makes them macho and cool, but that if you strip all that away, at their core, these are capable, strong machines, especially the Evolution series.

That's how good a motorcycle the Sportster really is, that it was able to shatter all the prejudice and competition from every single other motorcycle I've ever ridden, to come out on top.

Many years ago, uncle Fester got me to try what would eventually become my previous Sportster, and I was hooked after just one ride. Suddenly, I got what these motorcycles were really about.

When the 1200S came up for sale I went to see it knowing what to expect from a Sportster, and yet was blown away by all the extra performance. That said, during the initial test ride, before I had even bought the bike, I noticed a problem with the transmission; I had talked about this during the first round of thorough servicing.

Since bringing it home, I have gone over every inch of this motorcycle and fixed or improved a number of things, always remembering that the dealer turned out to be such an untrustworthy scumbag that I knew I really had to address any mechanical issues myself and leave nothing to chance.

There are now just a few things left to do:
  • set up the suspension properly
  • repair the gearbox
  • blueprint the carburetor
  • good old "miscellaneous" items
Let's get to it then, starting with the suspension.

The first thing I did was to check the settings as found on the forks and, surprisingly, they were the same on both legs.
The front forks on the 1200S are unique to this model, and while they are clearly an improvement over the stock model found on every other variant of the Evolution Sportsters in that they are a quasi-cartridge type with fully adjustable preload, and damping for compression and rebound, there is a drawback when it comes to the drain plug: the forks on the 1200S don't have one! I believe this is because Showa adapted the standard slider to house the compression adjuster where the drain plug would normally be. This means that the rare times you'll need to drain the oil.... you have to remove the entire front end off of the motorcycle. Let that sink in for a minute... ok, let's just get on with it.
You could also drain the oil by removing the bolt that lives at the very bottom of the slider and secures the damper rod, but these are likely very hard to remove most of the time, and then you're gonna have to undo the top nut to refill with fresh oil anyway, so you might as well do it this way instead.
Incidentally, this is also a very good opportunity to check wheel bearings, brake discs' surfaces, and even the calipers. Everything was in good shape so we just cleaned off some brake pad residue and left it at that.
Removing the wheel, front fender and brake calipers took about two minutes, but when it came to undoing the fork yoke pinch bolts it was a nightmare: for some reason they are Torx head bolts and they were seized solid. Confounded, goddamned Torx. The ones on the left-hand side eventually gave, but on the other side it was like beating on a solid block of β-Ti3Au. I suspect this was due to old threadlock and oxidation, not to mention that the pinch bolts are a kind of self-tapping hard steel that screws into the aluminum yokes... not a good combination. After two days of penetrating oil and applying heat with the Stanley FatMax heat gun, I tried cutting a slot into one of the bolt heads (I later replaced this with a new bolt, obviously), thinking I might have better luck with a very large flat blade insert in the impact driver, but there was no luck to be had that day. In the end, I had to get the motorcycle over to uncle Fester's garage and get him to go at it with brawn and better tools. 
During the ride over to his place, I noticed a concerning behavior of the steering, which I remembered from one of the last times I rode the Sportster (almost four years ago, when I noted "I need to set up the suspension properly to fix what feels like something wrong with the front end, particularly noticeable when tackling tight corners.") so when I returned to the Monolith I thought "while I'm at it, I might as well check the steering bearings" and, well, notchy doesn't even begin to describe the state they were in. Long story short, the whole front end had to come off, and I proceeded with refreshing the steering.
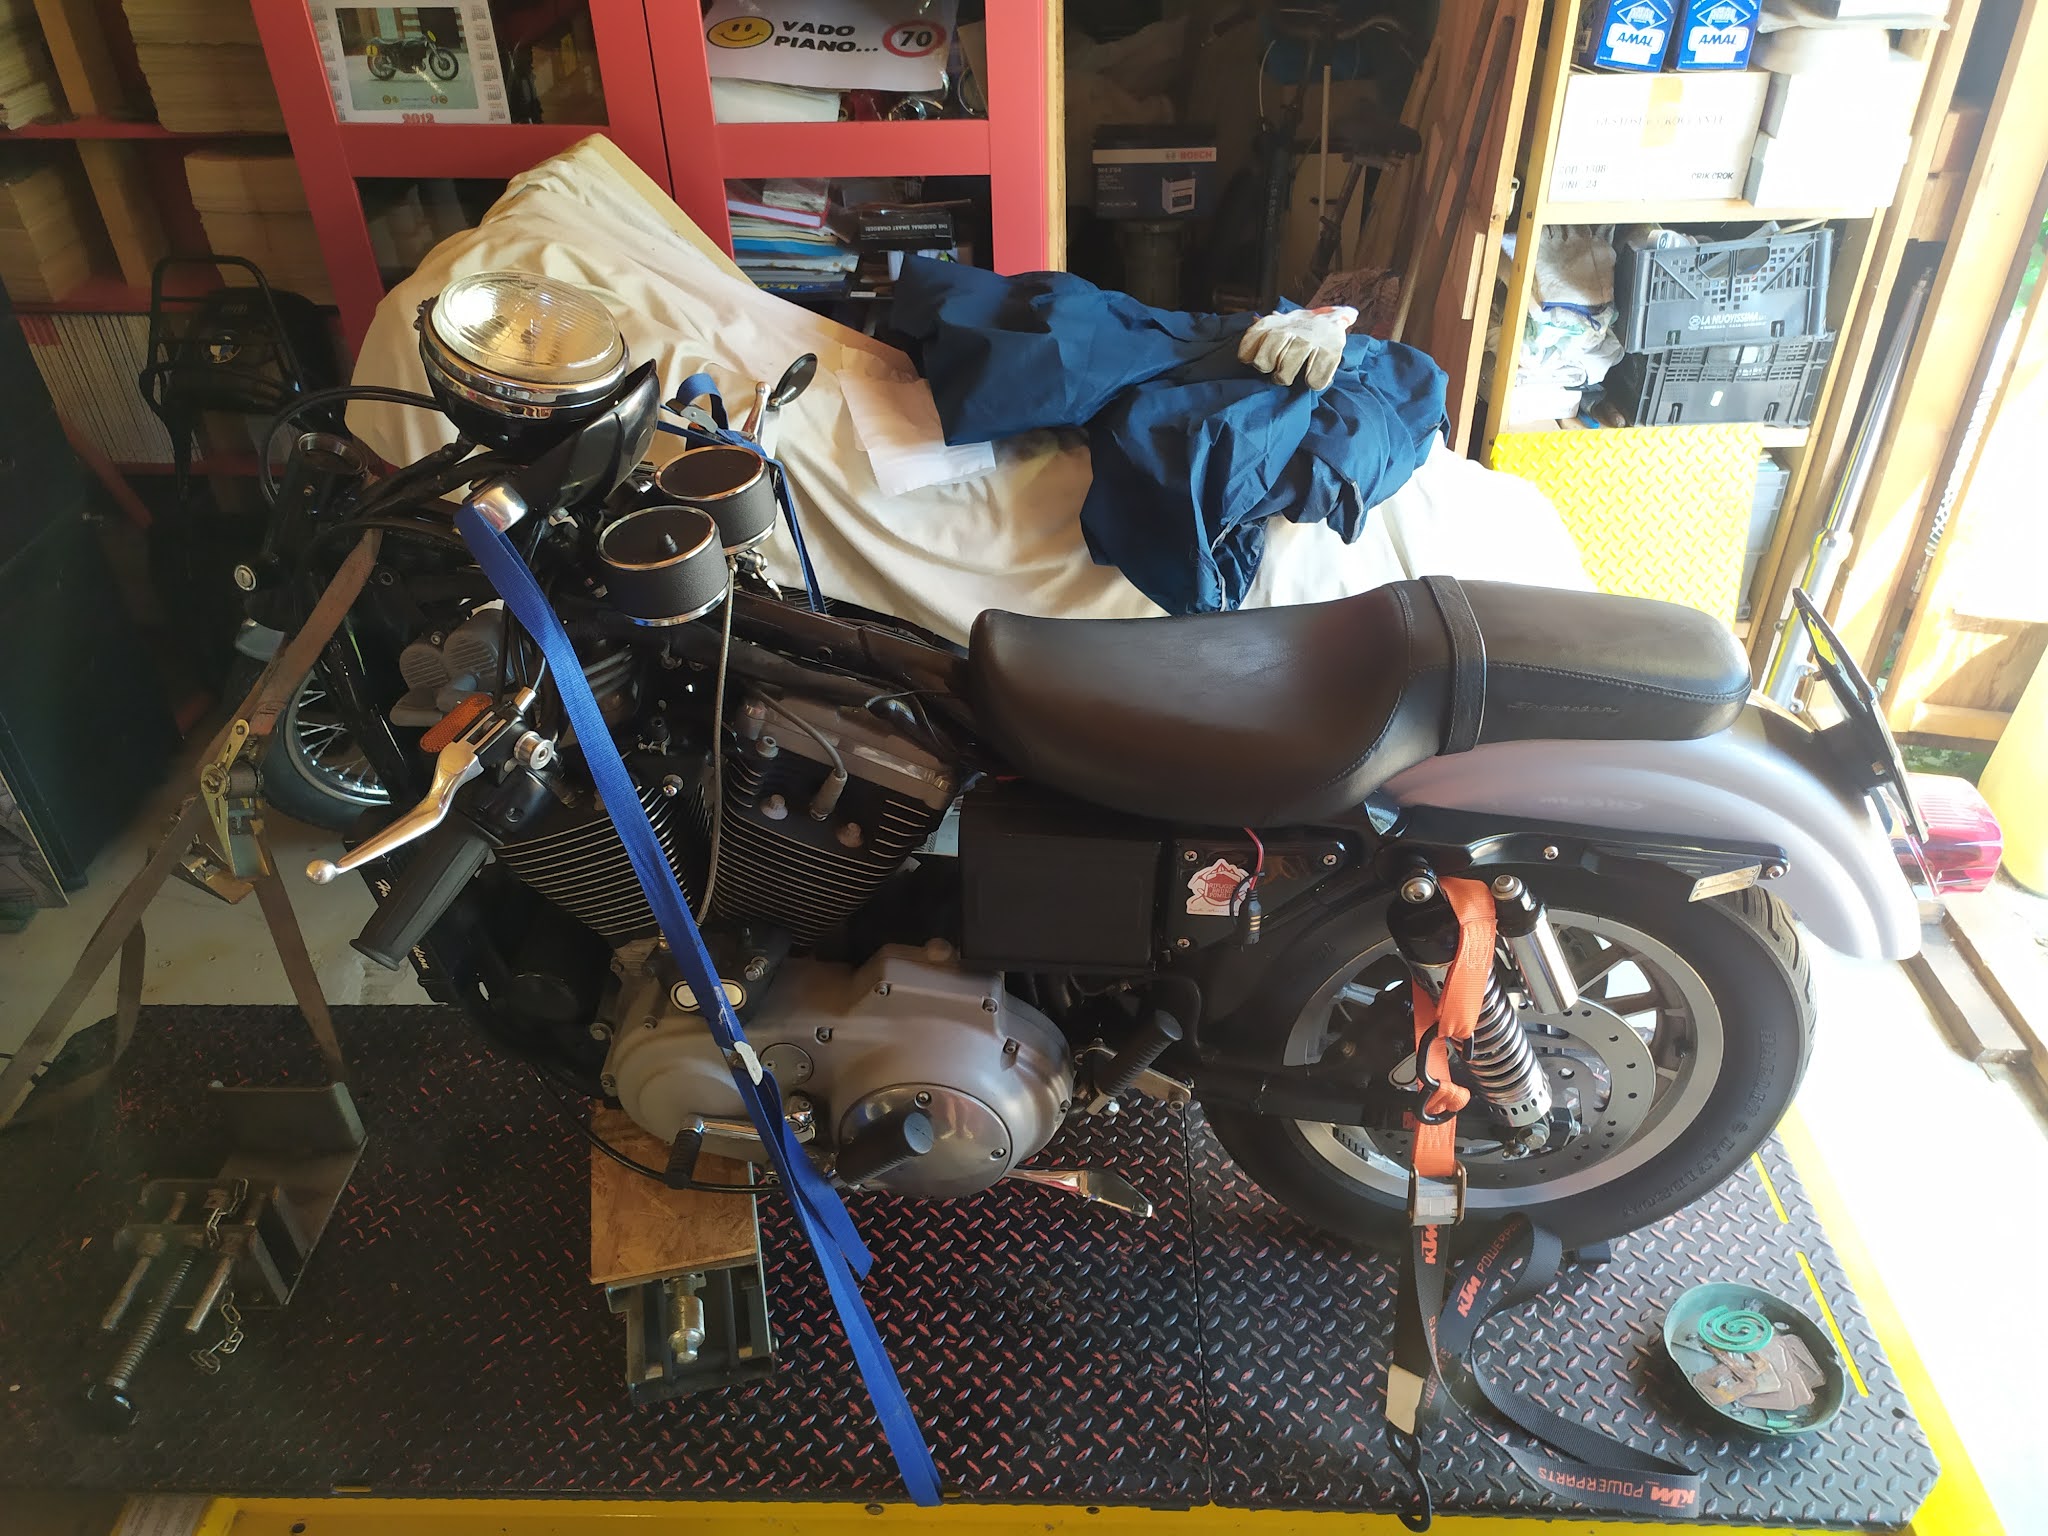
Above: that little Morini has been popping up in the background lately...
A look at the outer bearing races; the marks you may be able to see actually cleaned up without leaving much of a trace at all, and the races themselves are smooth to the touch and do not appear to be distorted (admittedly I did not check these with any type of gauges). That groove along the old grease is where I tested to see if I could reach both outer races with a drift in case I had to knock them out to replace them: there is indeed enough room, so a puller shouldn't be necessary here when I'll eventually have to renew the bearings completely. Not this time though.
It's worth remembering that this motorcycle is already over 20 years old....it may not look it, it may have all sorts of fancy lights in the digital instrument panel, fancy MAP sensor, fancy ignition unit, but grease and bearings are still gonna feel time and miles. 
In particular what I did was to clean all of the old grease off, inspect the neck and bearings, then since they were still in good shape I just re-packed them with fresh grease and put it all back together; whaddya know, all notchiness gone.
I learned how to pack bearings way back when we rebuilt my Norton Commando, many, many years ago: until that point I had always assumed that it was enough to smear grease on the outside of the rollers and maybe spin them around a little bit. If this is what you're doing, stop. You need to pack the grease on the inside, and there are plenty of sources to show you how it's done.
With that taken care of, I moved to the fork tubes, opened the caps (which on the 1200S remain fastened to the adjuster, otherwise on a standard fork they will fly off if care is not taken to secure them) and drained the oil. The right-hand leg had slightly less than there should have been, the left-hand one was just about acceptable but obviously the fluid was looking a bit past its prime, so definitely time to replace it:
The workshop manual specifies "Type E" H-D fork oil, and since it's unclear what the equivalent would be from other brands (and considering the original oil isn't that expensive) I am using standard Type E here. This is technically a "wet" fork in the sense that it wasn't fully disassembled and cleaned, in which case it would be considered "dry". I found about 260ccs of oil in the left-hand leg, and a little less in the right-hand leg. I added 270ccs of fresh oil for each leg (a tiny bit more than recommended in the workshop manual) and I'm satisfied that it is pretty even for both legs; also, at least I know for sure it has fresh oil, so I can forget about this for the next couple of years.
With the front end reassembled on the motorcycle, I can now proceed with setting up the suspension.
First it's the preload, and to set that I backed out the adjuster to its softest setting on both legs, lifted the bike off the ground to make sure both front and rear units were fully extended then measured the distance as specified in the manual: at the rear - from the center of the upper shock nut to the center of the lower shock nut (340mm); and at the front - from the center of the front axle to the bottom of the lower yoke (561mm). I should point out that I set the rear shock absorbers to their softest setting here, by turning the lower shrouds with a pair of channel locks (with a thick rag to protect the chrome, of course). I then gently lowered the bike back onto its wheels and measured again to see how much the suspension sagged with just the weight of the bike on them (544mm at the front, 336mm at the rear). Finally, I sat on the bike, feet up, and had my assistant measure again (524mm at the front, 316mm at the rear). With these measurements at hand, the next step is to calculate unloaded suspension minus loaded suspension. Preload should only be adjusted if the difference is not within specification. The difference in my case is two centimeters (20mm), and while technically that would fall within the 0.5-1.0 inches (12.7-25.4 mm) permitted range, it is towards the soft end of the range. I'd like this to be firmer, so I'm going to stick with the factory setting and go from there once I've had a chance to actually ride.
Below is the preload adjuster at the softest setting, you'll see that seven lines are visible:
So, I set the preload for the rear units at the second step, whereas the front forks preload is such that 4 lines are visible, with the fifth just over the stanchion cap:
The image above from the owners manual mentions the "top of slider tube cap", which I find slightly confusing as I would call it a "stanchion cap". 
Considering this as a good starting point, I then set the compression and rebound damping as suggested in the owner's manual: this is a very subjective thing as mentioned below, and I think I'll only ever really get a sense of whether this is right for me or not, by riding this thing on a few trips, if and when I manage.
Here are a few things to take note of, from the owner's manual:
Oops. I've definitely ridden a variety of distances without knowing anything about how the suspension had been set up on this particular motorcycle.
No he couldn't and wouldn't have; that guy was the absolute worst dealer I've ever known, fuck him.
Ok, all fair points, and I get what they're saying about these settings being very subjective; like I said, I'll give myself some time to go on a few proper rides before I can tell what really works for me.
Duly noted; for now though, I am satisfied that the entire suspension system is in good shape, set correctly, and with the correct amount of the proper (fresh!) oil in the forks. Big job done.